Designing & manufacturing a custom rifle M-LOK weight
Introduction #
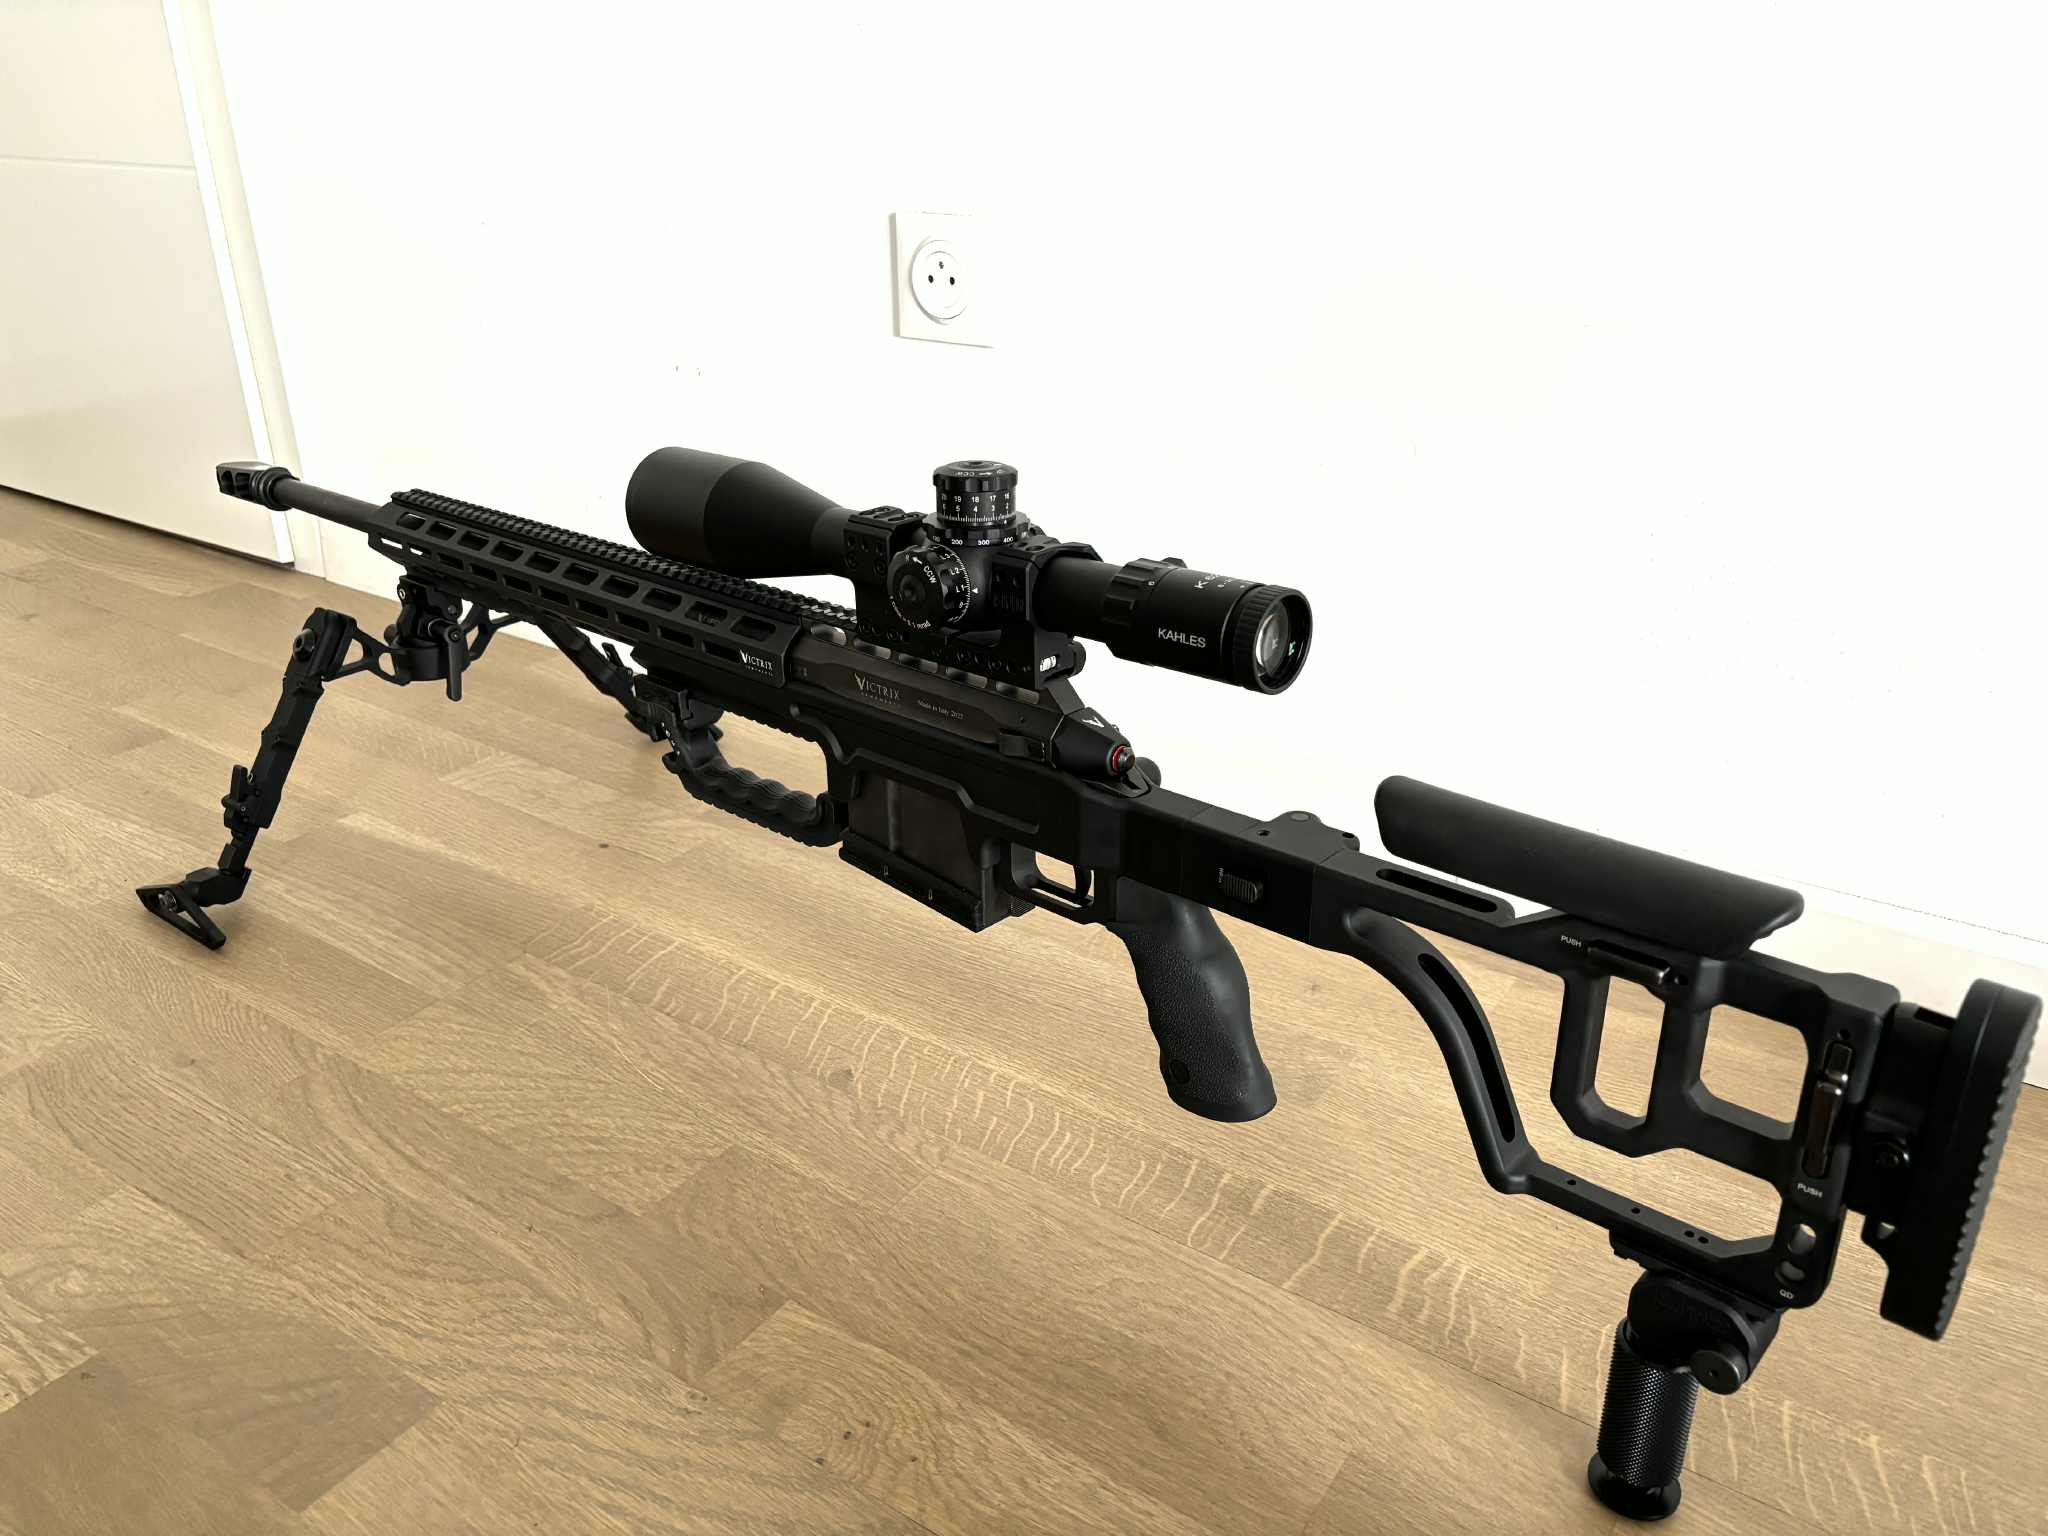
I recently bought a Victrix Scorpio T in .300 Norma Magnum. It’s a bit of a niche caliber (at least here in France), very similar to the more common .300 PRC, but theoretically slightly better due to its bigger case capacity. It remains supersonic up to ~1500 meters (1650 yards) with 250 grains bullets. My main motivation to buy it was to experience magnum calibers. It seemed like a lot of fun and a good challenge to handle this kind of heavy recoil cartridge.
However, as fun as it might be for the first few shots, I knew this heavy recoil could become annoying or even painful when shooting 30, 40, or 50 cartridges in a session. That’s why I started looking online for weights to mount on the rifle so the felt recoil would be lighter.
To my surprise, most of the weights on the market are at most ~200-250 grams (7 to 9 ounces). I believe the main goal of these weights are not to decrease the felt recoil but mostly to balance the rifle, which is very important in PR (Precision Rifle) for example.
So, are these 200-250 grams weights enough? Do we need heavier?
Choice of the weight #
Recoil without weights #
First, let’s calculate the weight of the rifle, fully equipped:
- Rifle: 6.2kg
- Scope: 0.95kg
- Scope mount: 0.25kg
- Bipod: 0.90kg (Accu-Tac FC-4 G2 with ski feet)
- Suppressor: 0.60kg
- Total: 8.9kg (19.6 lbs)
To compute the recoil, we also need the following data (measured from shot cartridges):
- Bullet weight: 250 grs
- Bullet velocity: 816 m/s (2677 fps)
- Powder charge weight: 5.1 grams (78.71 grs)
So without weights, the recoil is (calculator at shooterscalculator.com):
- Recoil impulse: 4.7 lbs.sec
- Recoil velocity: 7.8 fps
- Recoil energy: 17.6 ft.lbf
For comparison, the recoil of my 6.5 Creedmoor with the same rifle weight is:
- Recoil impulse: 2.6 lbs.sec
- Recoil velocity: 4.3 fps
- Recoil energy: 5.5 ft.lbf
The “felt recoil” is a mix of all these numbers. The “Recoil energy” being probably the most important, but anyway it’s safe to say the .300 Norma Mag hits at least twice harder than the 6.5 Creedmoor, if not 3 times harder when considering the “Recoil energy” alone.
Recoil with weights #
Now, let’s add weights.
One of those weights available on the market typically takes 2 M-LOK slots, so I could fit 5 weights on each side of the hand-guard, for a total weight of 2.5kg (5.5lbs). This would result in the following recoil (total rifle weight 25.1 lbs):
- Recoil impulse: 4.7 lbs.sec
- Recoil velocity: 6.1 fps
- Recoil energy: 14.2 ft.lbf
That’s a 19% improvement on the recoil energy – it’s significant but still almost 3 times more than a 6.5 Creedmoor.
To get to a similar recoil energy to the 6.5 Creedmoor, it would take a 29.5 kg (65 lbs) rifle, which is a bit… extreme and unpractical.
I decided to try to get to ~2x the recoil energy of a 6.5 Creedmoor (~11 ft.lbf). That would require a 14.5 kg (32.5 lbs) rifle, so 5.6 kg (12.3 lbs) of added weight, or 560 grams (1.2 lbs) per weight.
While it is possible to get to 560 grams per weight, it looked a bit odd/too thick to me: with a width of 79.0mm (maximum so weights don’t come into contact/block each other) and a height of 35.0mm (in order not to get “over”/“above” the hand-guard), it would require a thickness of 27.5mm (assuming material is Steel S235JR).
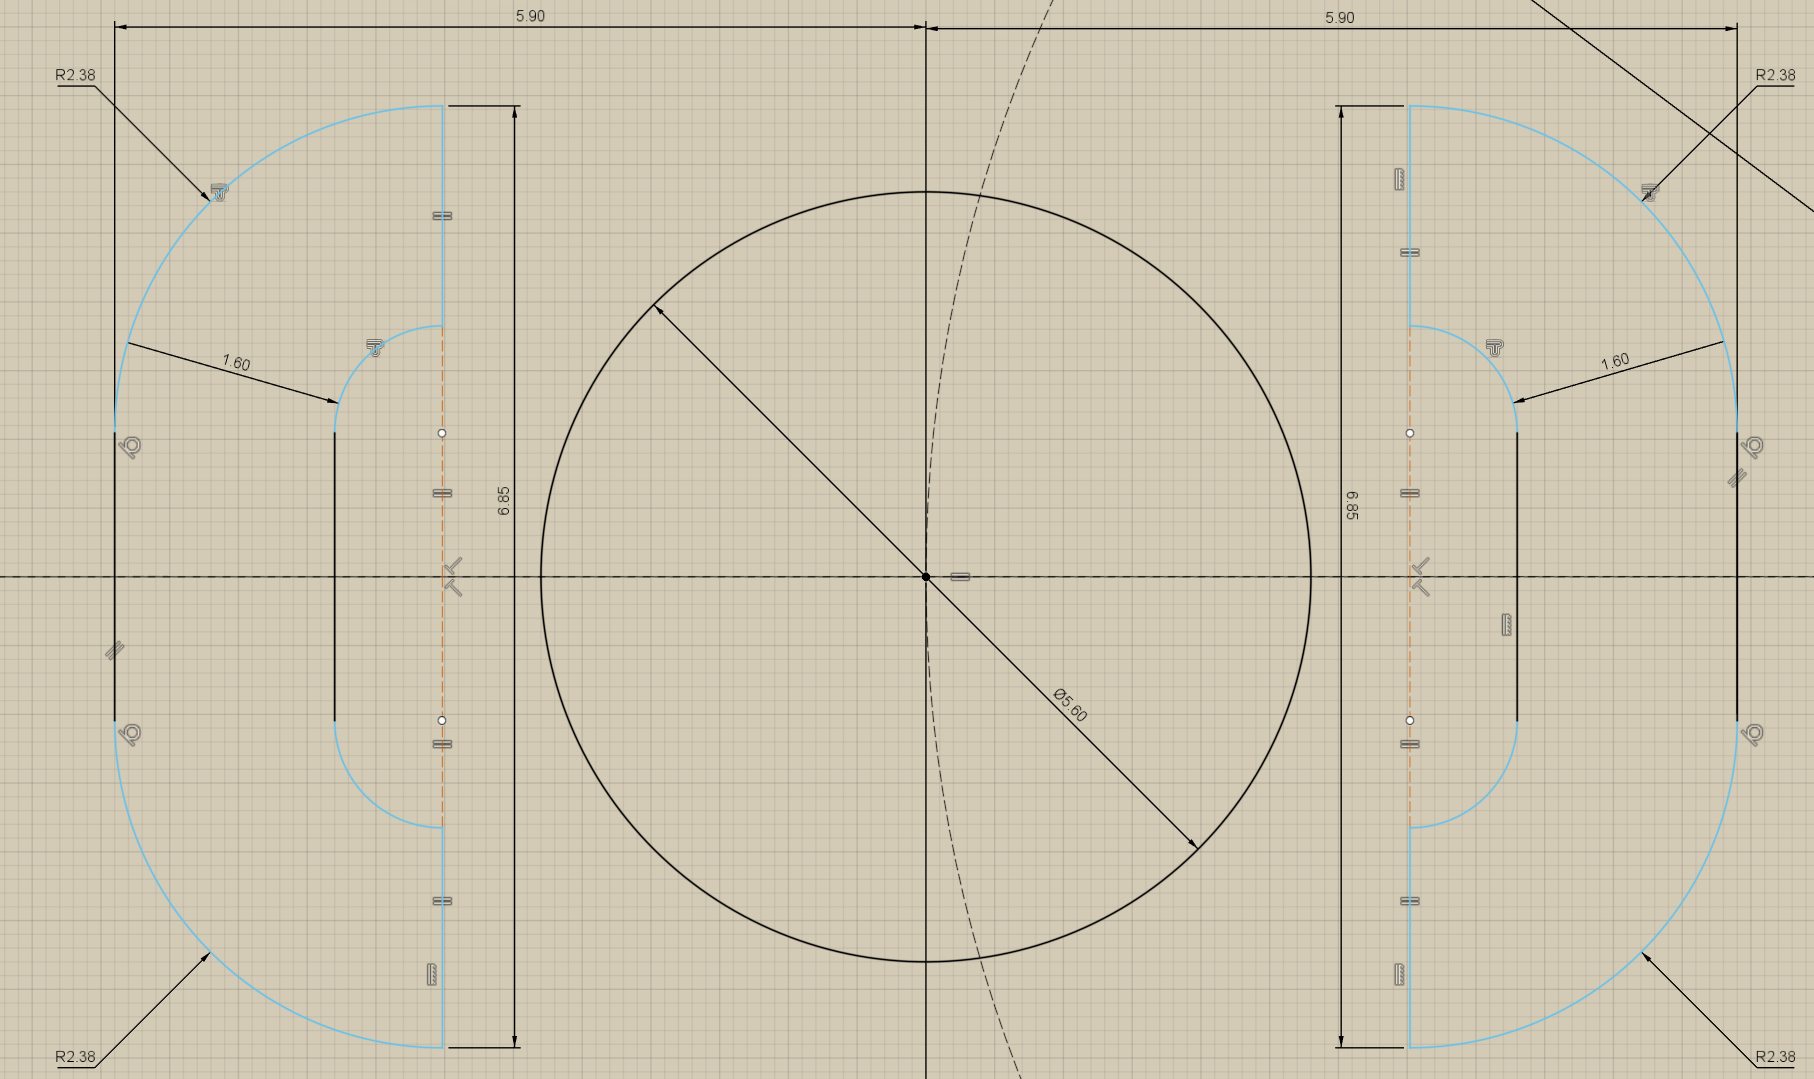
After many tries, I settled on the following dimensions:
- Width: 79.0mm
- Height: 35.0mm
- Thickness: 21.0mm This results in a weight of ~430g (~15.2 oz).
The recoil is then:
- Recoil impulse: 4.7 lbs.sec (0% vs. without weight, +80% vs. 6.5 Creedmoor)
- Recoil velocity: 5.2 fps (-33% vs. without weight, +21% vs. 6.5 Creedmoor)
- Recoil energy: 12.3 ft.lbf (-30% vs. without weight, +124% vs. 6.5 Creedmoor)
So, in theory, we managed to bring the recoil closer to “twice the recoil of a 6.5 Creedmoor”.
Design #
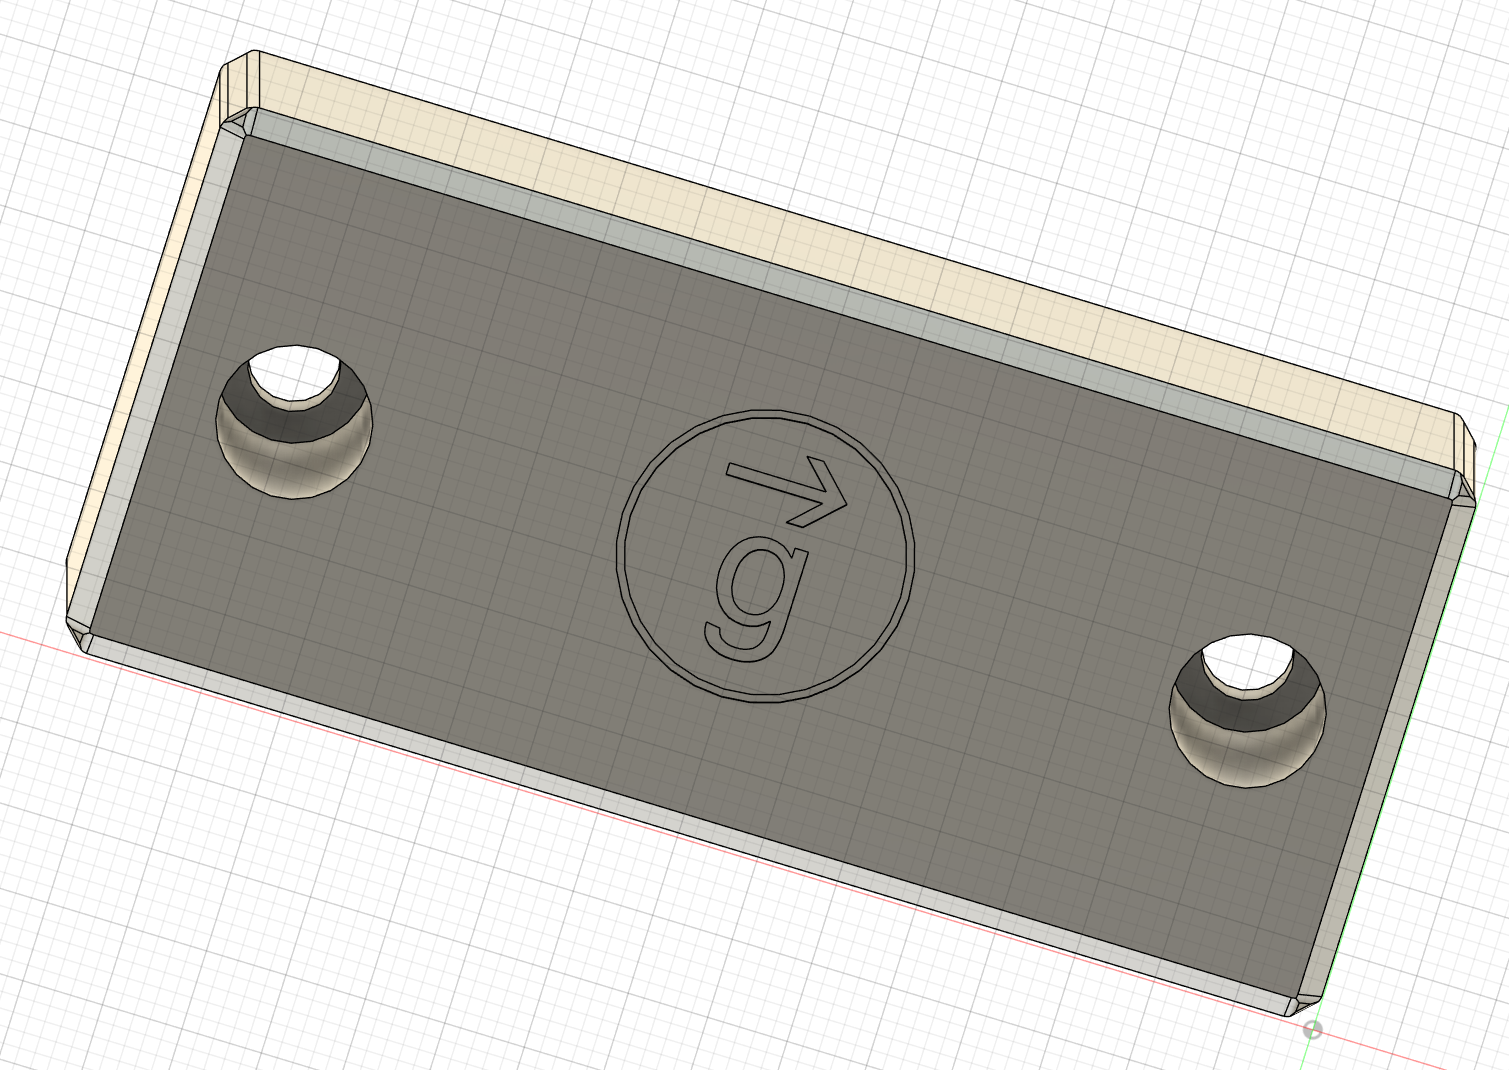
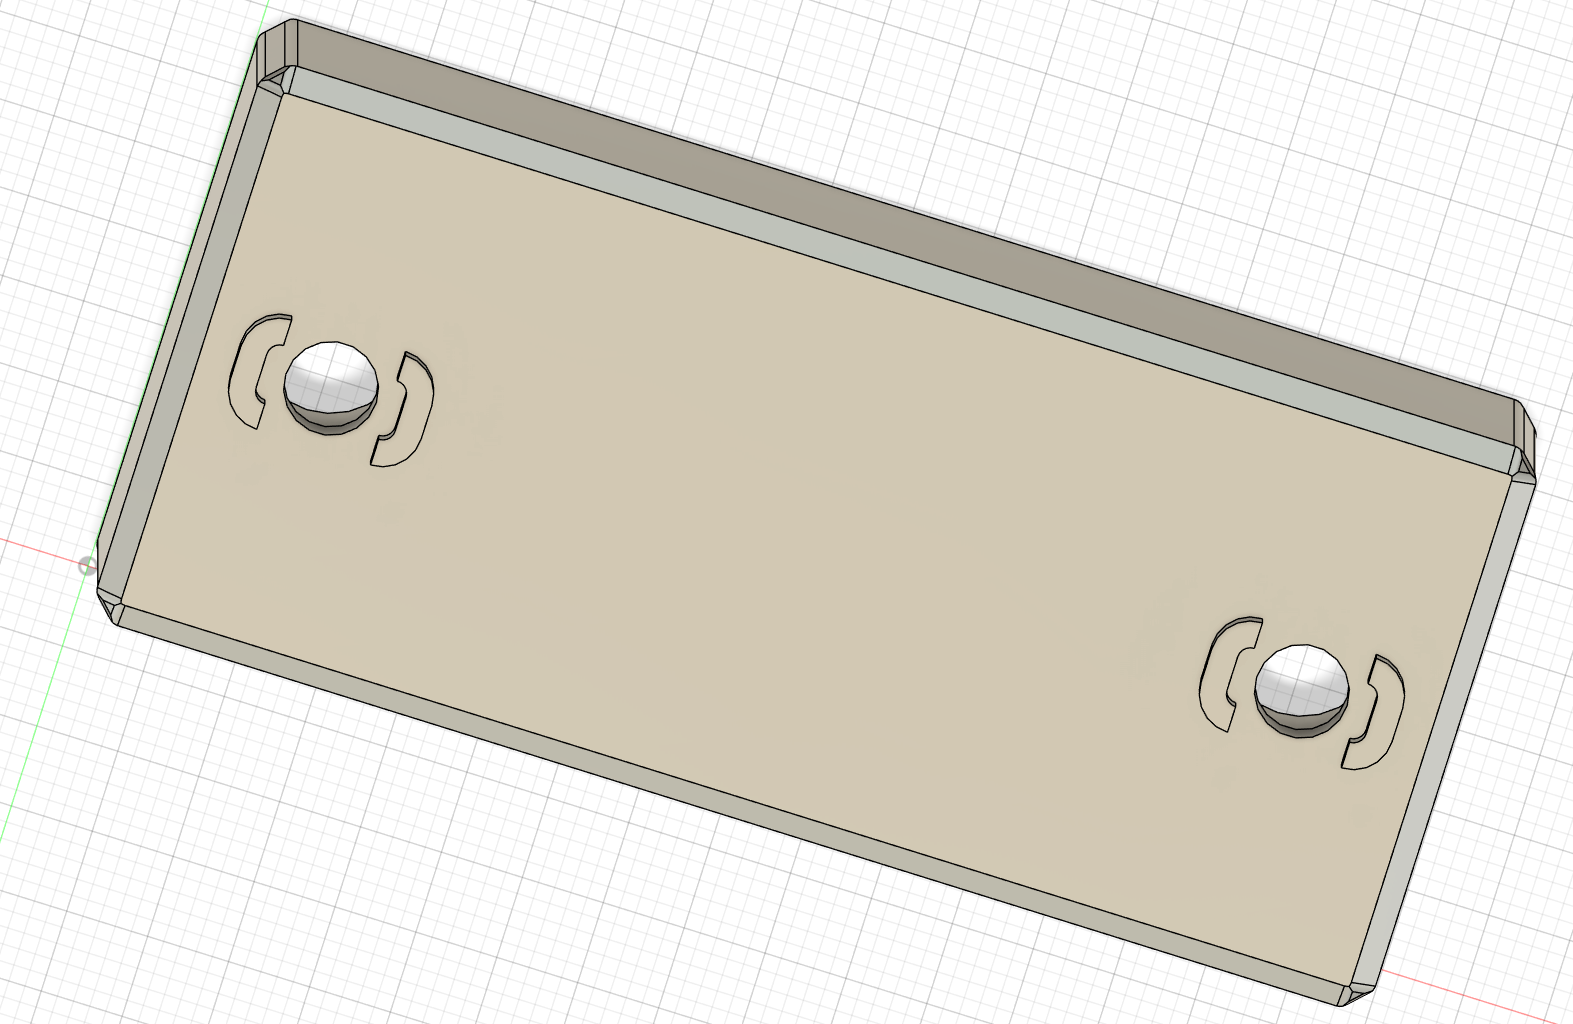
This part is pretty “simple”: it’s a rectangular prism with:
- Two holes for the screws
- Two M-LOK index lugs in the back of the accessory
- A few chamfers/filets to avoid getting cut while handling it
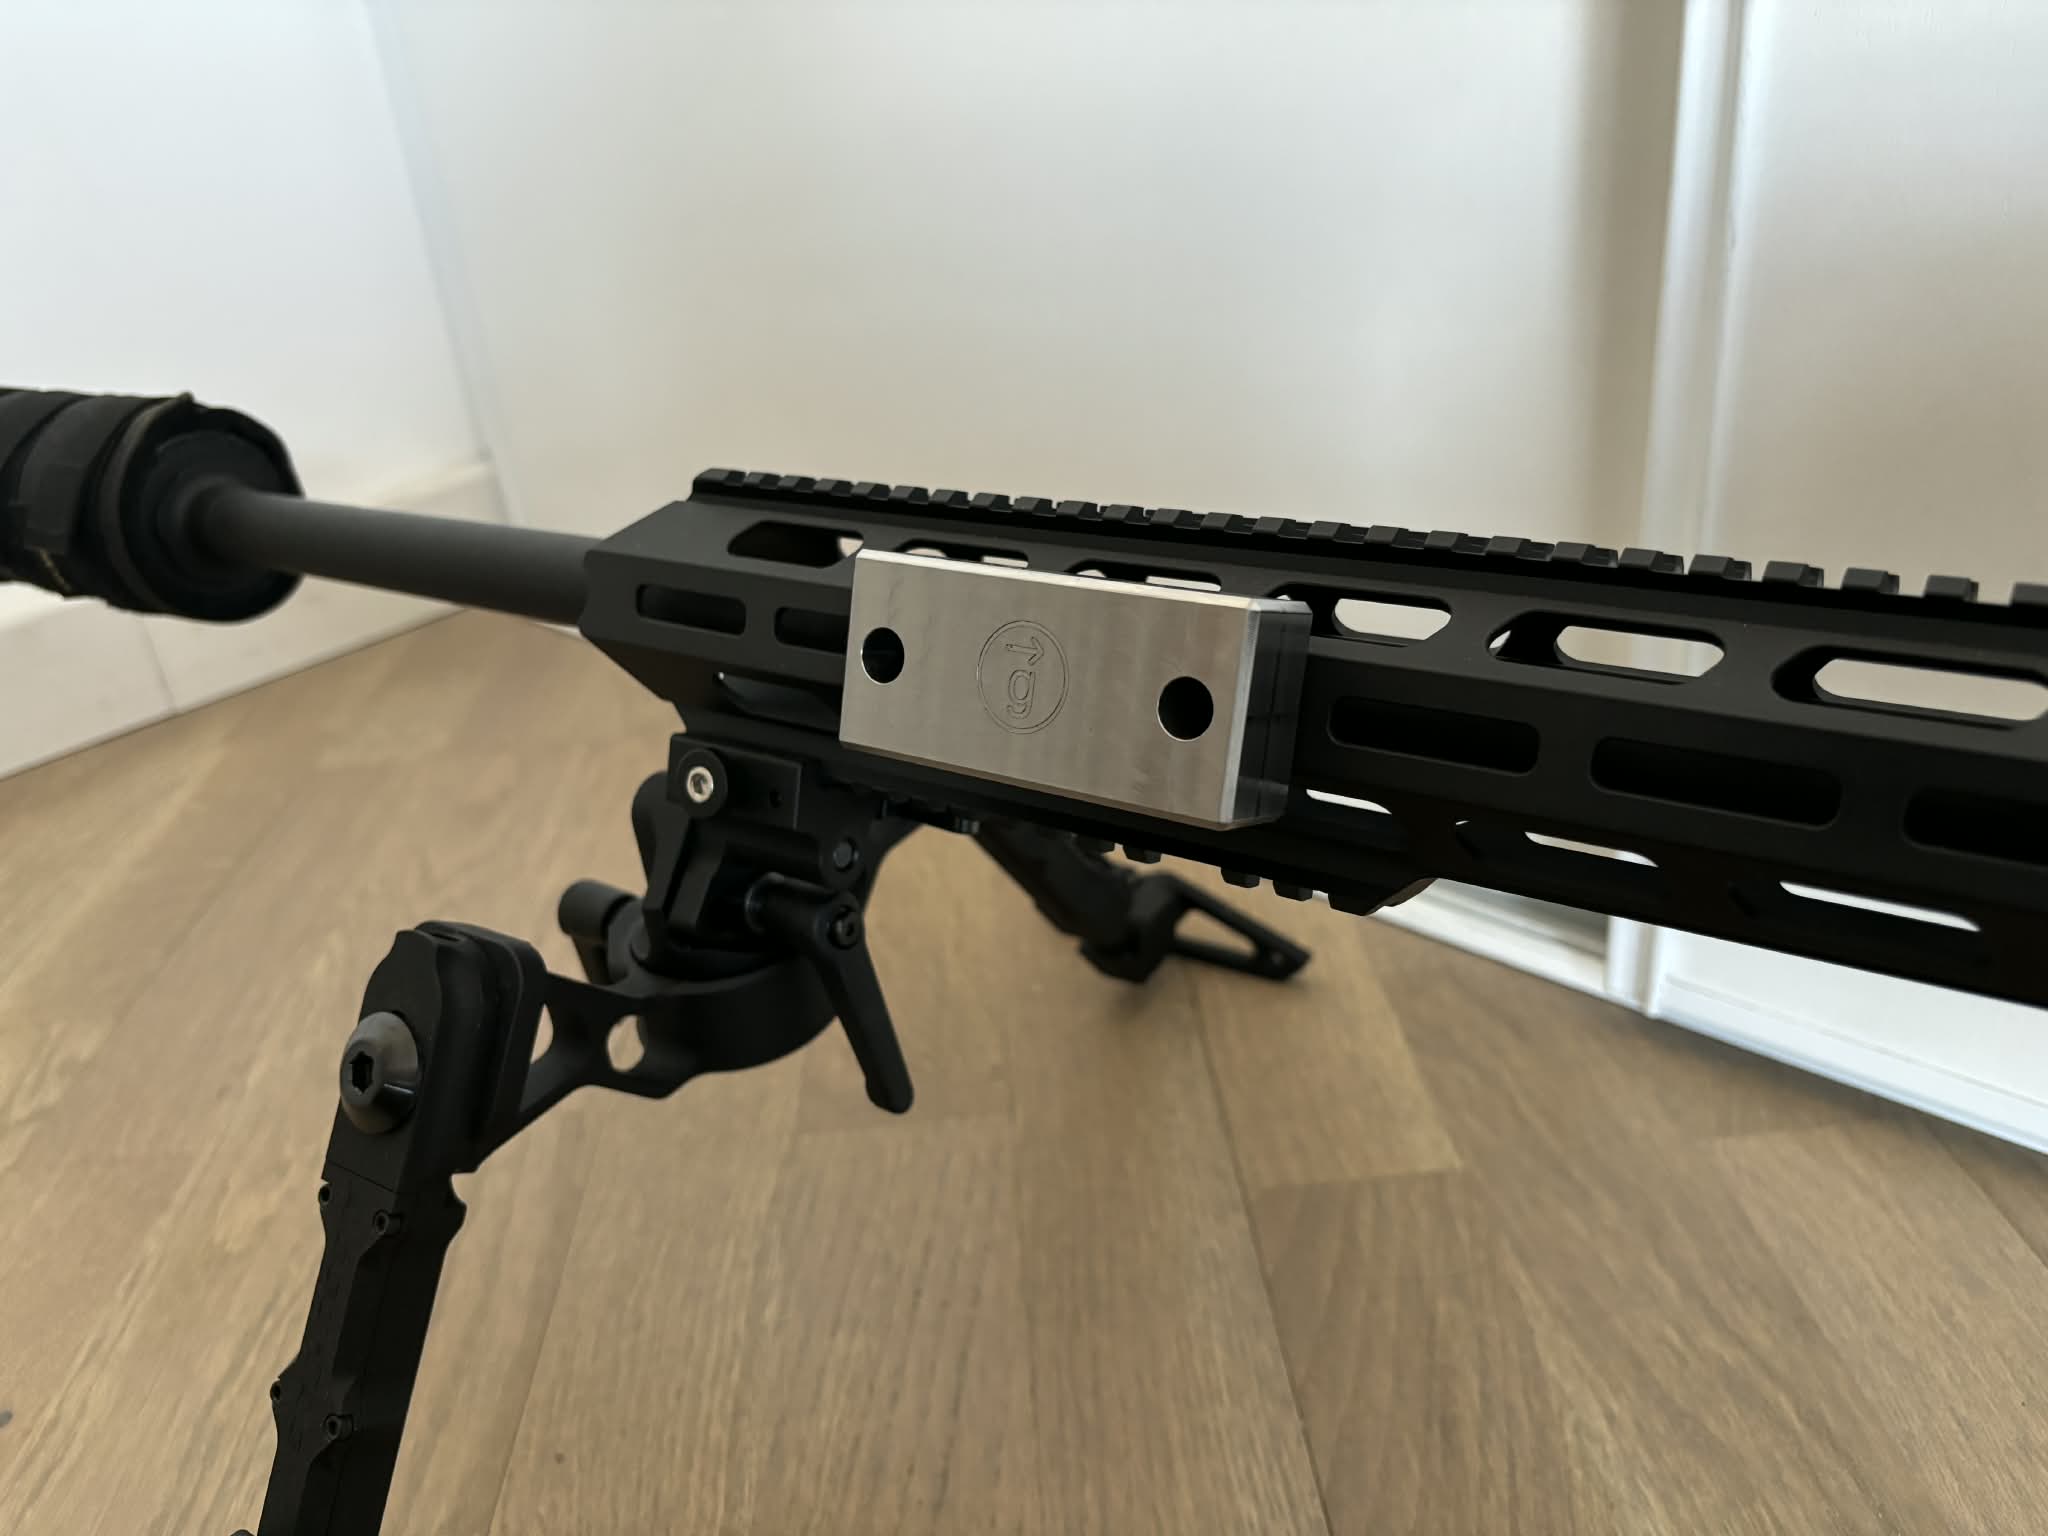
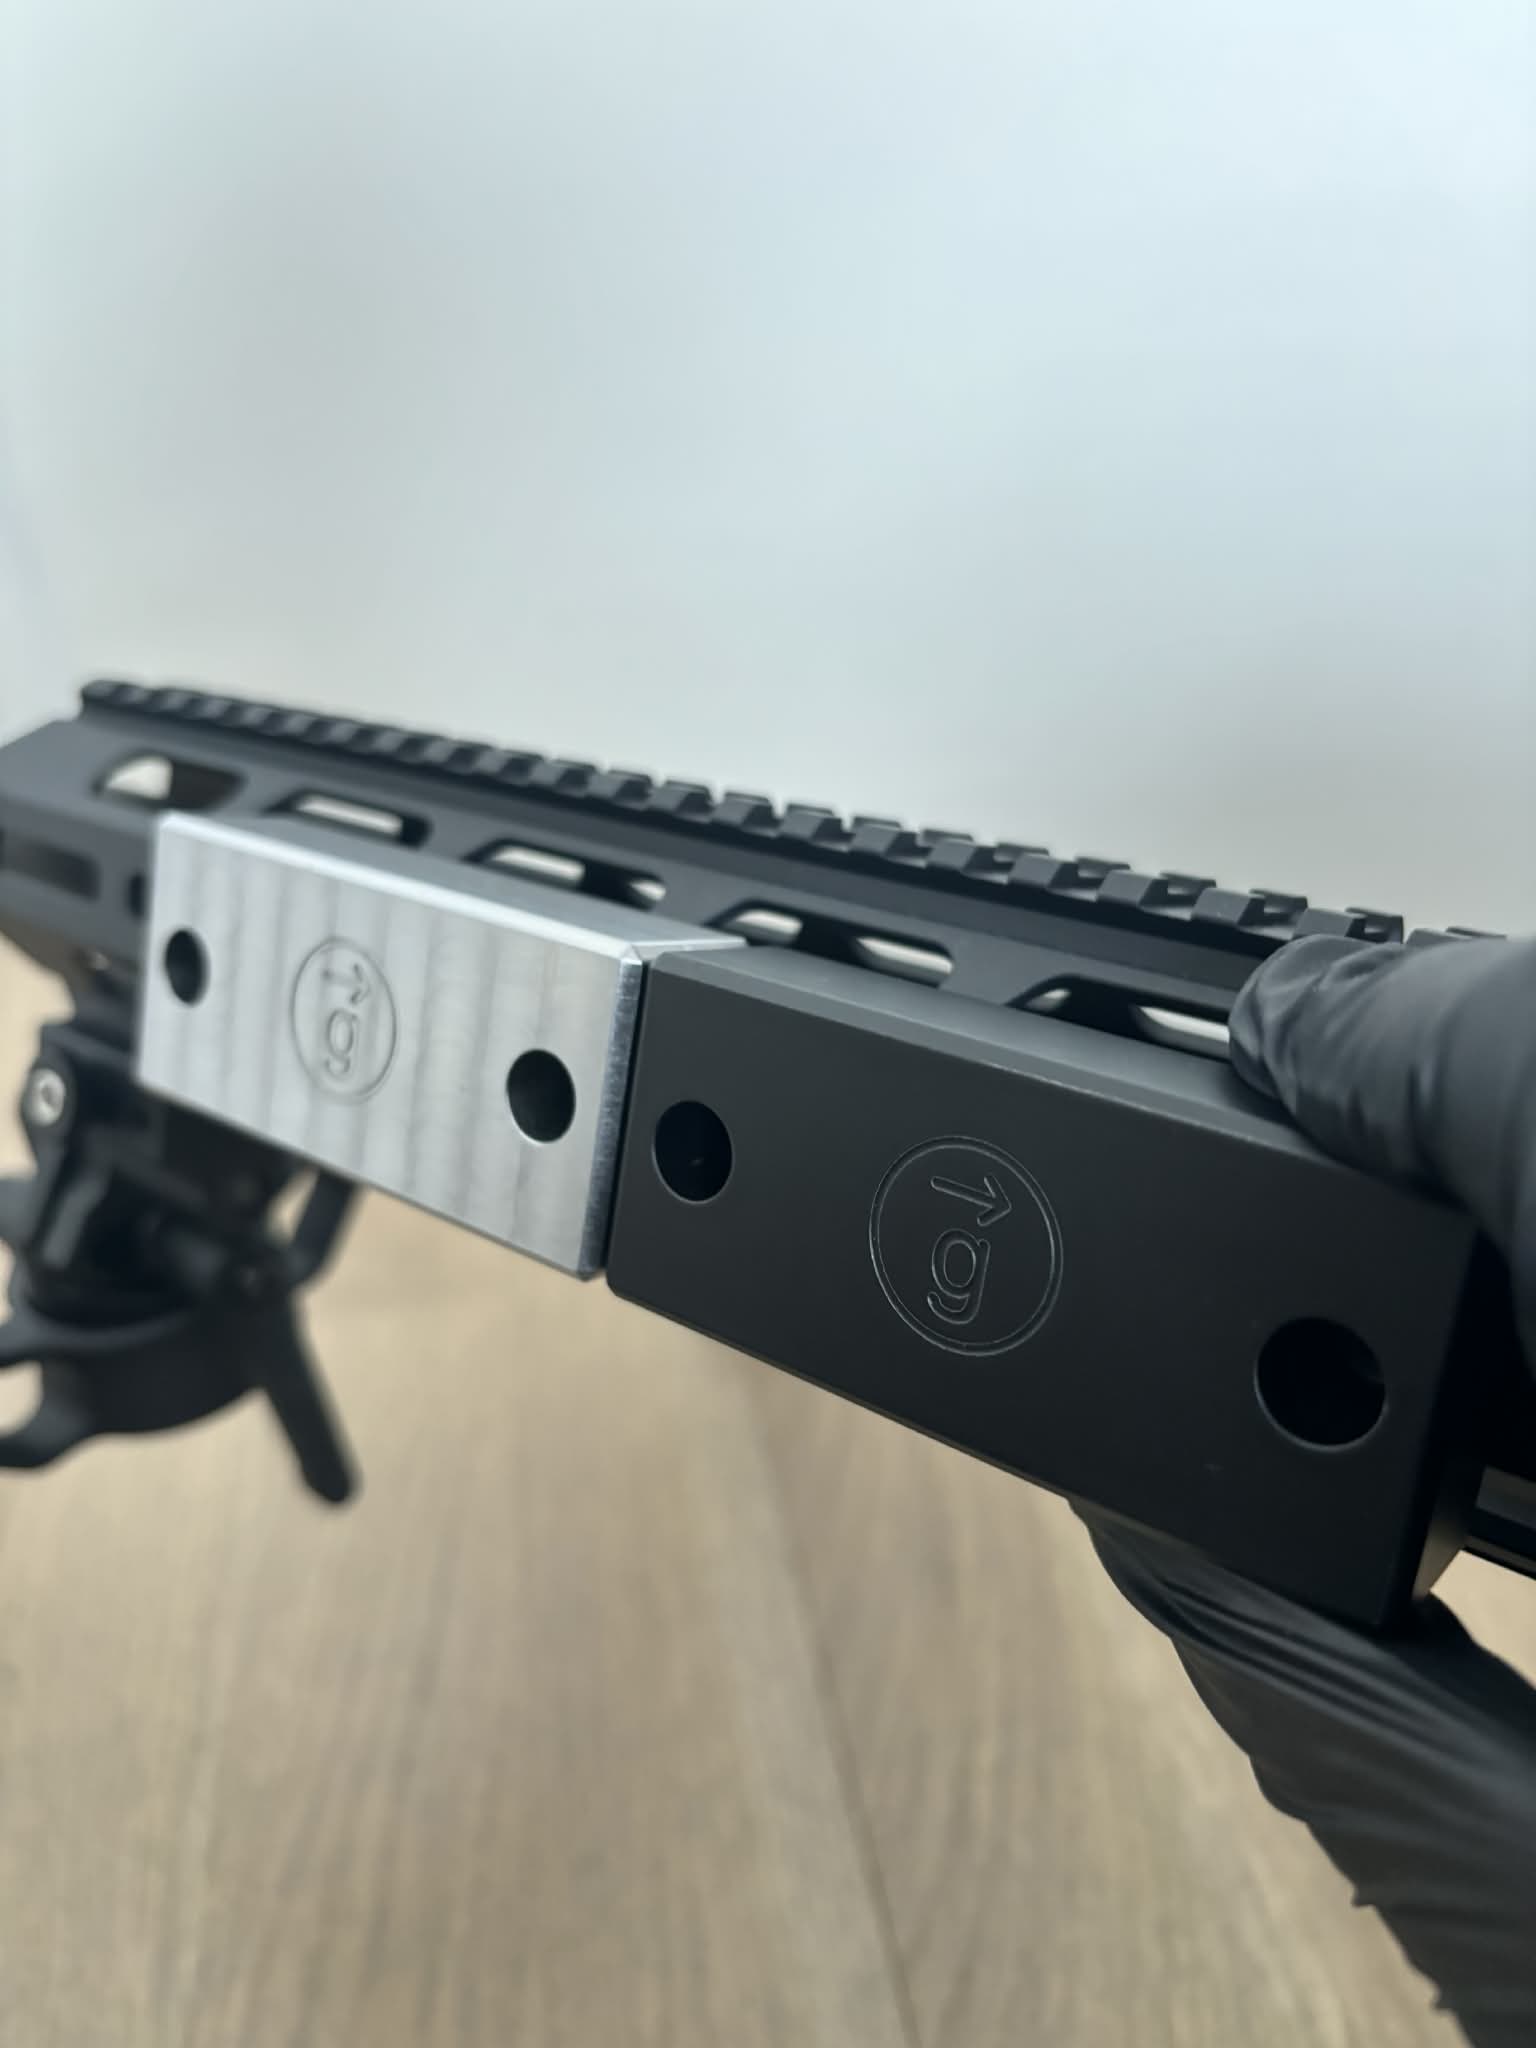
I also added a logo on top of it as it looked very empty: a “g” with an arrow on top (meaning “gravity vector”).
Strong of my first experiment with my home-made Red Dot mount, I went with Autodesk Fusion 360.
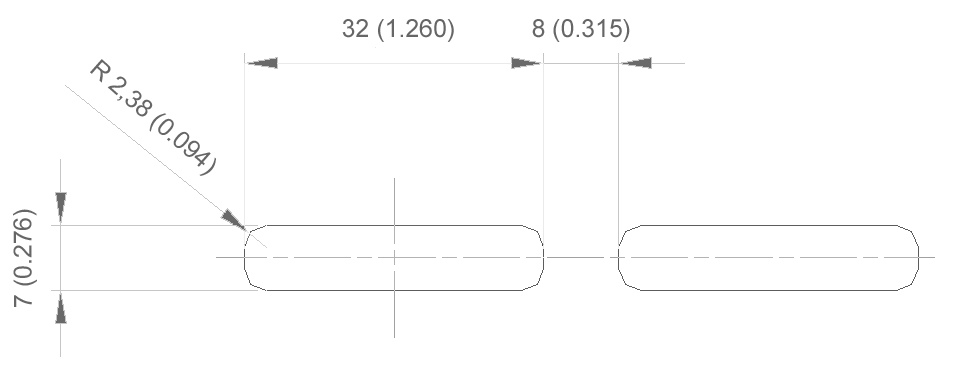
Index lugs #
I couldn’t find the official specifications of the M-LOK index lugs, but Wikipedia had “approximate” dimensions of the slot which I used for the radius (2.38mm) of the lugs and I measured their width/depth on an M-LOK accessory I had:
Screws & M-LOK T-nuts #
Nothing complicated here: as we’re making an M-LOK accessory, regular M-LOK T-nuts and screws should (and must!) work. That’s what I did: I bought a pack from my local gunsmith.
Manufacturing #
Material #
Unlike many gun accessories which are machined using 7075 Aluminum because they should be as light as possible, we want our weight to be… heavy. For this reason, I decided to go with Steel S235JR which is common for this kind of accessory and not too expensive.
Production #
For the exact same reasons I discussed in my other post, I chose Xometry again which always does a great job.
Finishing #
Ideally the parts should be black-anodized (that’s what I did for the Red Dot mount), but the cost for 10 weights was pretty expensive (several hundred euros), so I decided to use matte black spray paint instead (3 coats).
The degreasing step is really important as the parts come with remains of the lubricant used during the machining process from the factory.
The aesthetics with the matte black paint are good, but it’s unfortunately a bit fragile — that’s why black anodizing is definitely better.
Final result #
Here’s how it looks straight from the factory:
Here are two of the weights, one painted and one untouched:
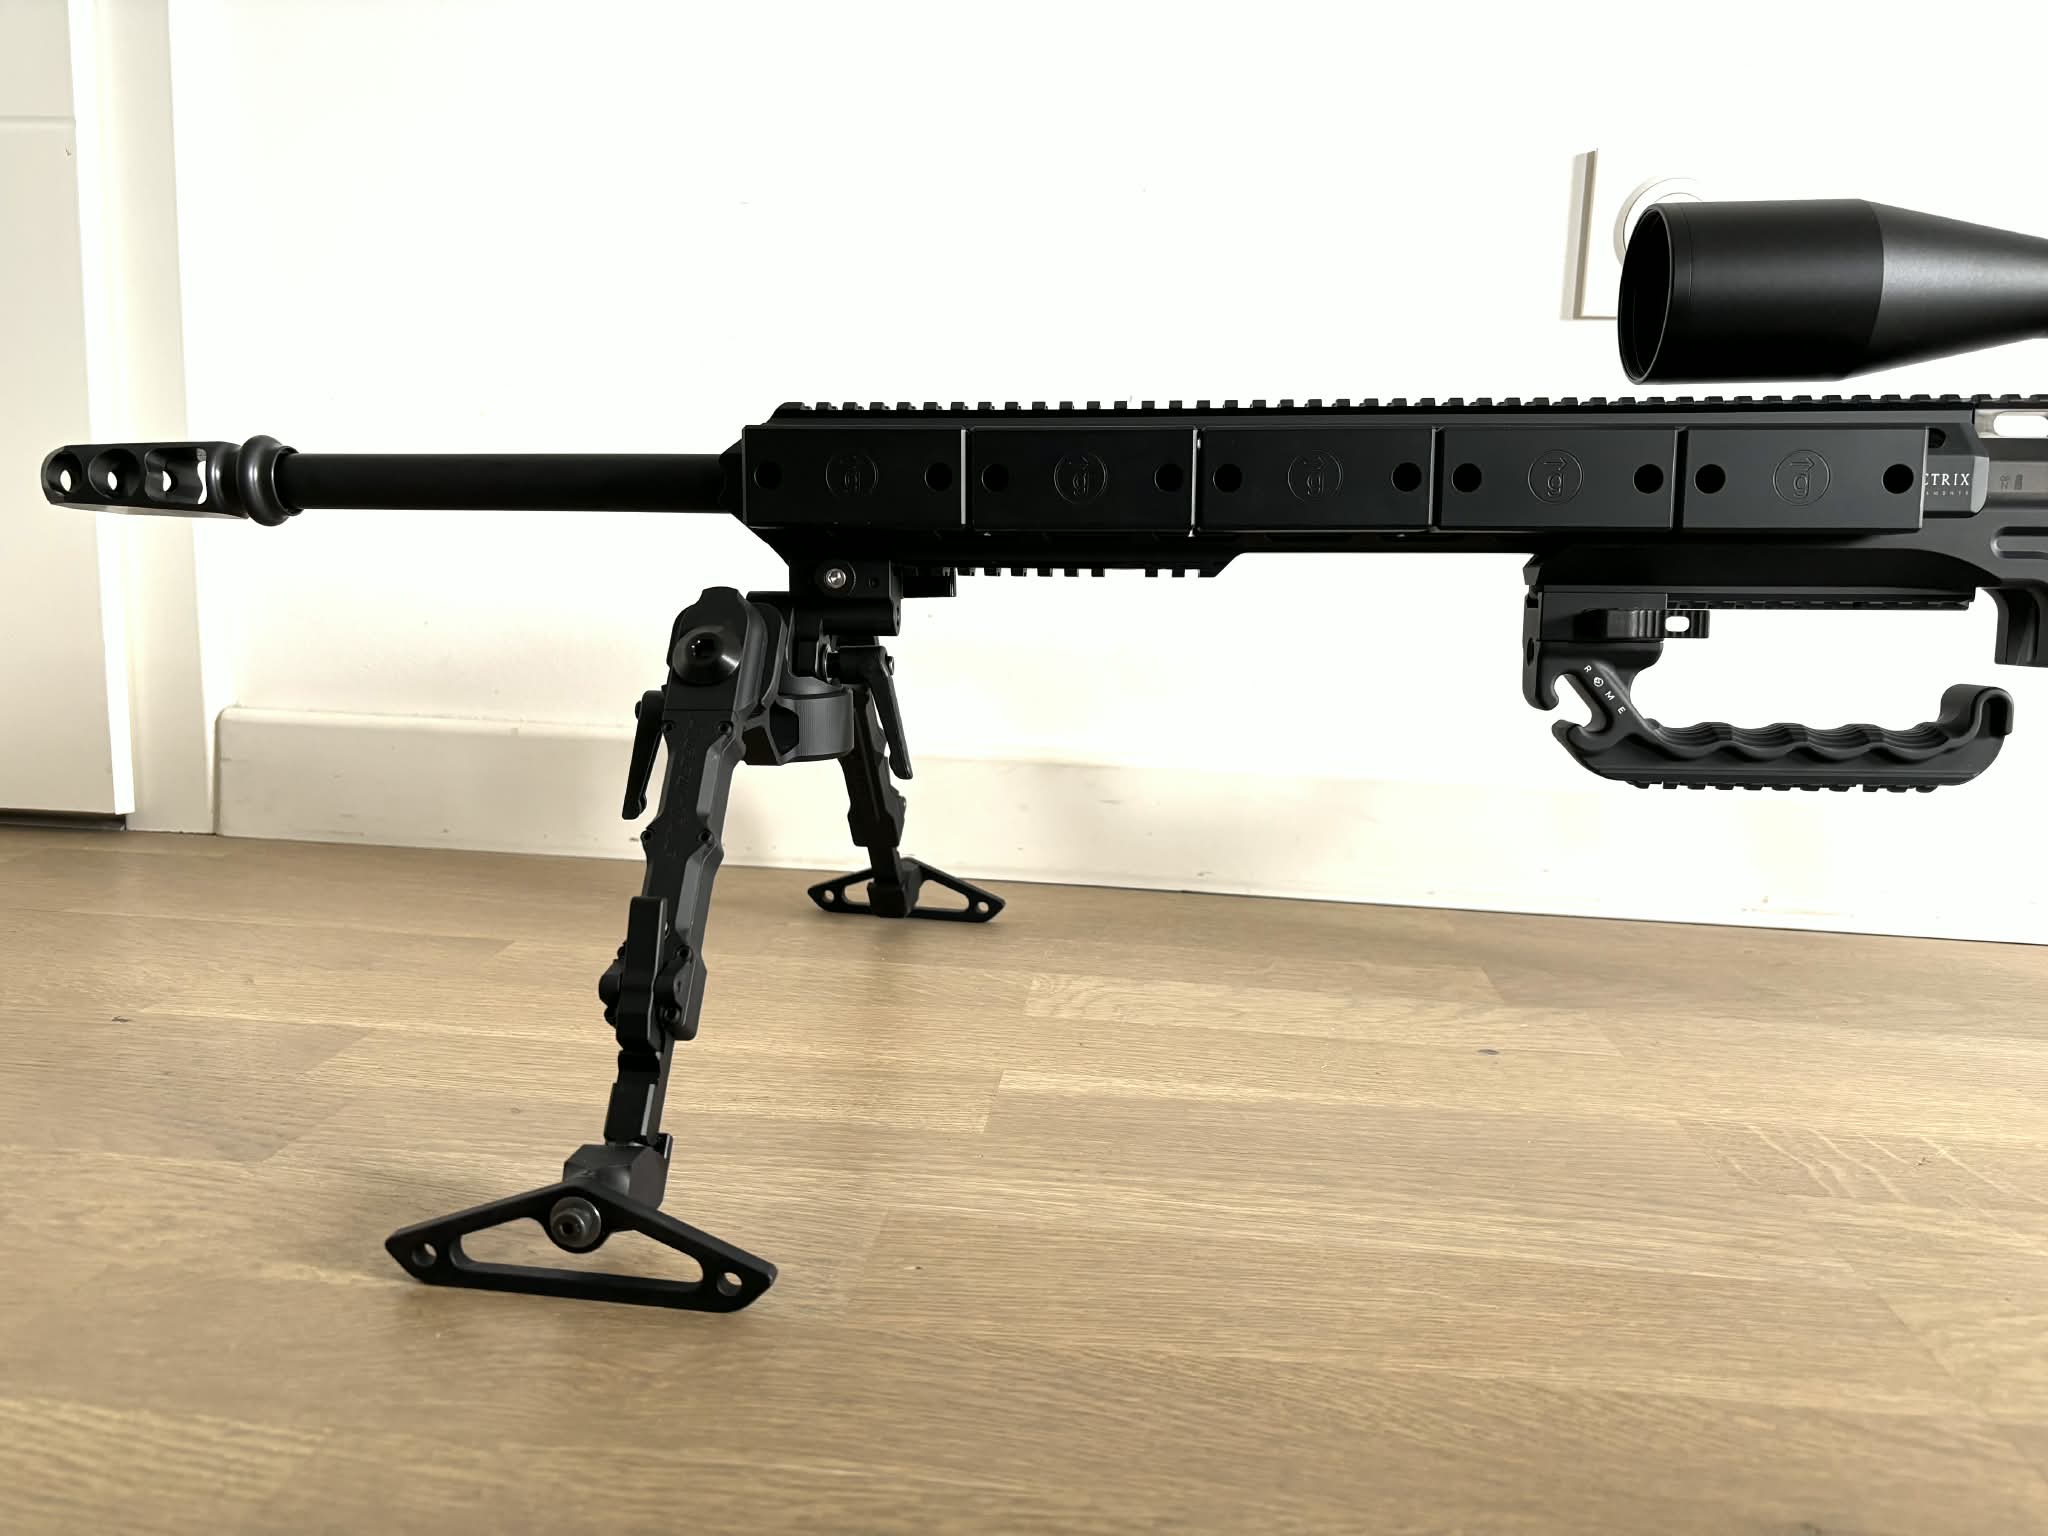
And here’s the final result with all of them mounted on the rifle:
Finally, a note on the effectiveness: there is a very clear difference in shooting with and without the weights, and shooting with them is definitely more enjoyable (at least, for me)!
Another home-made gun part success 🎉 !